
At ADAPT, we believe that what gets measured gets improved.
That’s why we’ve integrated the ACCURO Fitness Heart Rate Monitoring System into our Large Group classes. While most people focus on how hard a workout feels, the reality is that understanding how your body is responding during training can be one of the most powerful tools for improving performance, recovery, and long-term results.
But what exactly are training zones, and why do they matter?
Understanding Heart Rate Training Zones
Your heart rate is one of the best indicators of exercise intensity.
As your effort increases, your heart rate rises. Training zones allow us to categorize that effort into specific ranges, each producing different adaptations within the body.
Rather than guessing how hard you’re working, ACCURO provides real-time feedback so you know exactly where your effort is landing.
Zone 1: Recovery & Movement
Very light effort.
This is where your body promotes recovery, circulation, and movement quality. You should be able to hold a full conversation comfortably.
Best for:
- Recovery days
- Warm-ups
- Cool-downs
- Active recovery sessions
Zone 2: Aerobic Foundation
Easy to moderate effort.
This is often called the “engine-building” zone. Training here helps improve endurance, cardiovascular efficiency, and the body’s ability to utilize fat as fuel.
Best for:
- Endurance development
- Long-duration efforts
- Recovery-focused conditioning
Zone 3: Sustainable Work
Moderate effort.
Breathing becomes more noticeable, but you can still maintain a conversation in short sentences.
Best for:
- Building work capacity
- Improving stamina
- Sustained training efforts
Zone 4: Threshold Training
Hard effort.
Conversation becomes difficult. This is where your body learns to tolerate higher levels of fatigue while maintaining performance.
Best for:
- Improving conditioning
- Increasing work output
- Developing mental toughness
Zone 5: Maximum Effort
Very hard effort.
This is your highest intensity zone where you’re working near your limit for short periods of time.
Best for:
- Power output
- Speed development
- High-intensity intervals
- Anaerobic conditioning
Why Knowing Your Zone Matters
One of the biggest mistakes people make is treating every workout the same.
Some days should challenge your upper limits. Other days should focus on building endurance or supporting recovery.
Without objective data, many people unknowingly train too hard on easy days and not hard enough on challenging days.
The result?
- Slower progress
- Poor recovery
- Increased risk of burnout
- Inconsistent performance
Training zones help eliminate the guesswork.
FHow ACCURO Helps You Train Smarter
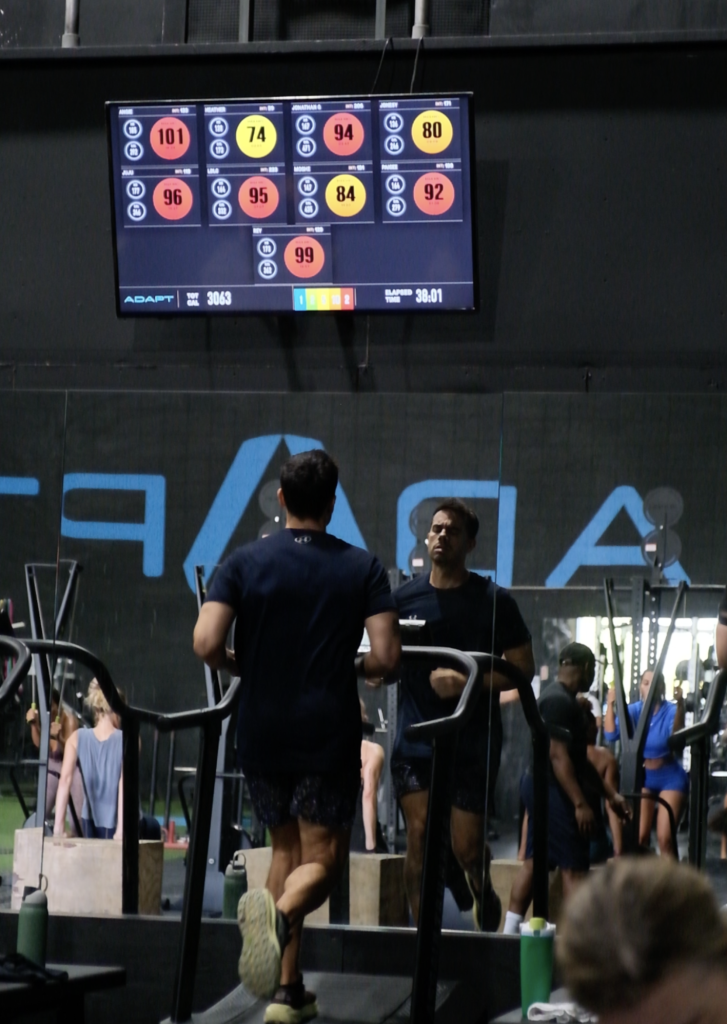
During class, ACCURO provides real-time feedback on screens throughout the gym, allowing you to see:
- Current heart rate
- Training zone
- Calories burned
- Overall effort level
This means you can instantly adjust your pace based on the goal of the workout.
If the goal is aerobic development, you can avoid pushing too hard.
If the goal is high-intensity output, you can confidently push into higher zones knowing you’re hitting the intended stimulus.
Instead of relying solely on how you feel, you’re now training with data.

The Goal Isn’t To Be In Zone 5 All The Time
Many people assume harder is always better.
It’s not.
The best athletes and highest performers understand that progress comes from training in the right zone at the right time.
Sometimes that means pushing the pace.
Sometimes that means backing off.
The key is knowing the difference.
That’s exactly what ACCURO helps you do.
Stay Connected
Please subscribe to our channels on Instagram, TikTok, and Facebook.
Yours for GREATER strength,
Peter Beitia